Image to SVG for 3D printing: keychains, signs and plaques
Your slicer won't extrude a PNG, and a line-drawn SVG came in as a blob or not at all? Trace the image into filled shapes that extrude cleanly.
Drop your logo or design here
Drag and drop an image, or click to choose a file.
Choose imagePNG, JPG, WEBP, BMP, GIF
The converter opens with the recommended settings below. Open the converter without a file
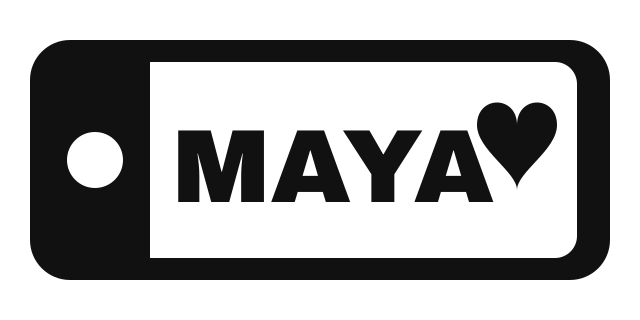
Original raster
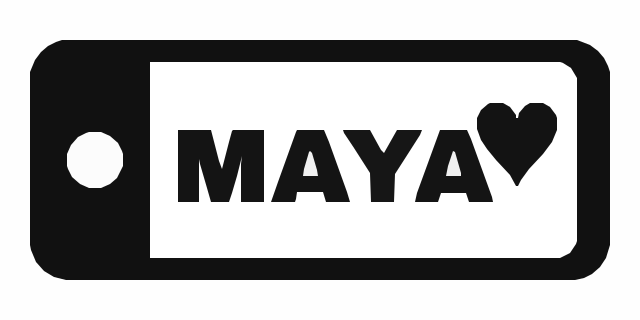
SVGR vector
How to turn an image into a shape you can 3D print
- Pick a bold, simple design. One or two solid colors on a plain background trace most cleanly. PNG, JPG, WEBP, BMP or GIF up to 15 MB.
- Drop it on this page. The converter opens with the 3D-printing settings applied. Converting and previewing are free and need no account.
- Check the thin parts. Zoom in on fine lines and small gaps. If a detail you need vanished, raise Quality one step; if the preview is full of specks, lower it.
- Download the SVG. The download costs one credit. SVGR gives you the SVG; the 3D model is made in your slicer or CAD tool.
- Import, scale and extrude. Import the SVG into Bambu Studio, Tinkercad, Fusion 360 or PrusaSlicer, set its width in millimeters, and extrude it.
Recommended settings
Why slicers need filled shapes, not lines
Bambu Studio, Tinkercad, Fusion 360 and PrusaSlicer build a solid by extruding the filled area of each SVG path. A path that is only a stroke has no area, so depending on the tool it imports as a blob or disappears.
Converting an image to SVG for 3D printing with SVGR gives you filled shapes only: every part of the image, thin lines included, becomes a closed outline with an inside. What you see in the preview is the area that gets extruded.
A PNG or JPG has no paths at all. Bambu Studio publishes its own guide to converting images into 3D models on its wiki, which is worth reading alongside this page.
Logo to STL: SVG first, then extrude
SVGR doesn't output STL or any other 3D format. The route from a logo to an STL is two steps: trace the logo into an SVG here, then extrude it in your slicer or CAD tool and export the STL from there.
Pixels are not millimeters. An SVG traced from an image has no physical size your slicer can trust, so set the width you want when you import it.
| Project | What to do after import |
|---|---|
| Keychain | Extrude the design, then add a base and a hole for the ring in your CAD tool. |
| Sign or name plate | Extrude the lettering on top of a base plate, or print it as a separate color. |
| Embossed plaque | Raise the design above the plaque surface. |
| Debossed plaque | Subtract the design from the plaque with a boolean cut. |
| Cookie cutter | Build the cutting wall from the outer outline in your CAD tool. |
Holes, counters and multi-color parts
SVGR stacks shapes instead of cutting them out. The hole in an O is a separate background-colored shape sitting on top of a solid disc, not an empty space. Transparent background removes only the outer background, so those enclosed shapes stay in the file.
Extrude everything at once and the hole comes out solid, with a second disc on top. To get a true hole, extrude per color and subtract the counter from the body with a boolean. You can also run Path > Difference in Inkscape before you import.
Multi-color prints work the same way: extrude each color separately, and subtract upper colors from the ones below if you don't want them overlapping inside the model.
Keep details big enough to print
Your printer sets the limit, not the SVG. Features thinner than your nozzle can't print, so a hairline in the design may vanish from the slicer preview.
- Check the slicer preview at the final size, after scaling.
- If thin lines drop out, thicken them in your design or print the part larger.
- Low-to-mid quality in SVGR removes the tiniest islands before they reach your slicer. Raise it only if a detail you need disappears.
- Upload the biggest source you have. Details that are only a few pixels wide in the source are the first to drop out.
What SVGR won't do for 3D printing
- No STL, 3MF or OBJ: extrusion and export happen in your slicer or CAD tool.
- No true holes out of the box: stacked shapes need a boolean subtract.
- No real-world size: you scale on import.
- No thickness or depth: every shape is flat until you extrude it.
- Tracing follows your source. Photos and shaded artwork don't turn into clean extrusions; a flat, high-contrast design does.
- Transparent background removes the shape painted in the color found at the image corners, which is what people mean by the background. If your artwork bleeds into all four corners, or the corners are different colors, nothing is removed and the background stays — give the artwork a plain, even margin and convert again. Areas fully enclosed by artwork are never removed, and a PNG that already has a transparency channel is left as it is.
- Curves are traced as many short straight segments. Traced from a small image, they can look slightly angular when enlarged, so start from the largest copy you have.
Frequently asked questions
Can SVGR make an STL from my logo?
No. It makes the SVG; you extrude it and export the STL from your slicer or CAD tool, such as Bambu Studio, Tinkercad or Fusion 360.
Why did my SVG import into the slicer as a blob, or not at all?
The file was probably built from strokes, which have no area to extrude. SVGR's output is all filled shapes, so each part imports as a solid region.
Why is my imported design the wrong size?
SVG coordinates come from the image's pixels, not millimeters. Set the width you want when you import it, or scale it in the slicer.
Why is the hole in my letter filled in?
The hole is a separate shape stacked on top of the letter. Extrude per color and subtract that shape with a boolean, or run Path > Difference in Inkscape first.
Can I make a keychain SVG for Tinkercad?
Yes. Import the SVG into Tinkercad, set its size, then add a base and a hole for the key ring.
Which quality should I use for small prints?
Start at 4. Lower quality drops tiny islands that won't print; if a detail you need disappears, raise it one step or upload a larger image.
Related use cases
Ready to convert?
Converting and previewing are free, with no account needed. Downloading the SVG or PDF uses one credit.